These instructions will guide you through the steps needed to transfer (export) an existing WordPress.com blog to your new site hosted by the Guild. These instructions apply only to WordPress.com and not to other self-hosted blogs using WordPress.org (open source) software. If you are unsure whether your site is a WordPress.com site, check with the Guild blog administrator.
This procedure will not alter your existing WordPress.com site in any way.
Page Contents
Before you begin
It’s a good idea to do some housekeeping of your existing WordPress.com site. Are there posts or pages that you no longer use or need? If so, go ahead and delete them. You should also delete any unnecessary files from your Media Library. Speaking of media, if you use an external site such as Flickr to store your media files, we recommend that you move those files into your Media Library to ensure that they are preserved along with your blog posts and pages. The media will then need to be re-connected to their corresponding posts and pages. Preservation of your site is perhaps the most important benefit of moving your site to the Guild. This step is optional and can be done either before or after you move your blog to the new Guild site. See “Check your new site for any errors … Media,” below.
Activate your new Guild blog with Jetpack
Before you start, the Guild blog administrator will need to set up a new site for you and provide you with login credentials for the new site. See Setting Up Your New GBP Site.
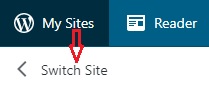
Login to your WordPress.com site, Click on “My Sites” in the upper left-hand corner and then on “Switch Site”
Click on ![]() . The “Add a New Site” window will open.
. The “Add a New Site” window will open.
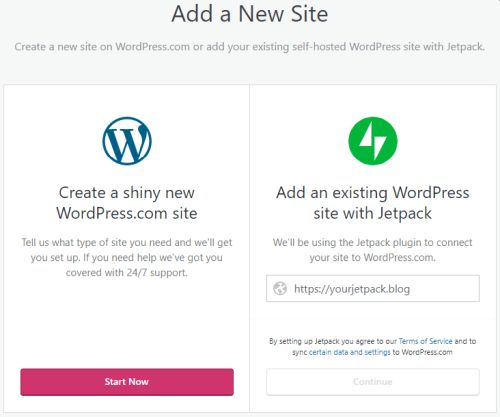
Under the “Add an existing WordPress site with Jetpack” text, enter the URL of your new Guild blog (“myblog.one-name.blog”) and then click “Continue.” You will then be prompted to enter the login credentials provided to you by the Guild blog administrator (NOT your WordPress.com login). Next, a window titled “Explore our Jetpack plans” will appear. Scroll all the way to the bottom and select “Start with free.” The message “Welcome to Jetpack Free!” will appear. You do not need to configure your Jetpack settings now but may do so if desired. When you’re ready, click on “Continue.” At this point, your new one-name.blog site is activated and can be accessed through the “Switch Site” menu of your WordPress.com site.
Export your existing WordPress.com blog
Use “Switch Site” to switch back to your WordPress.com site. Click on “My Sites” or the WordPress logo in the upper left-hand corner of your site.

This will bring up a side menu that looks like this
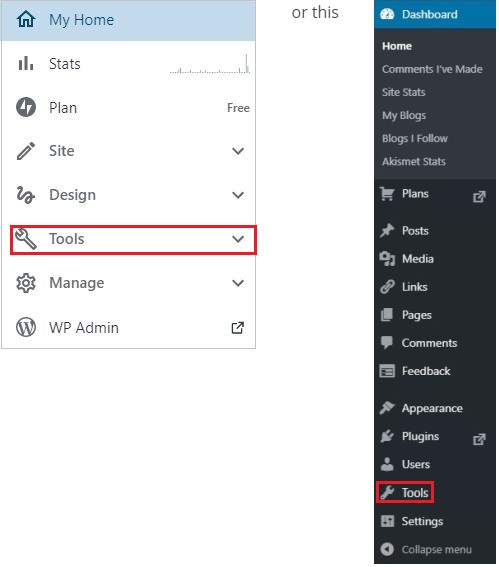
Click on “Tools” to expand the menu and select “Export.”

You’ll now have the option to Export all of your content or specific content from your site. Most likely you will want to export all. If not, select the down arrow to the right of the “Export all” button and make your selections. Ignore the “Export media library” option.
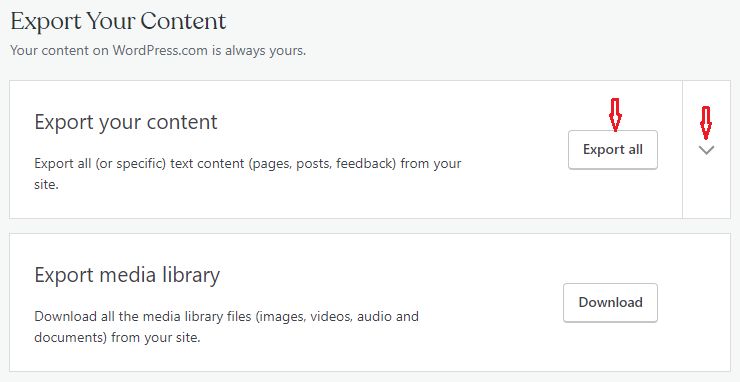
When you’re ready, press the “Export all” or “Export” button. All of your WordPress files will be saved as a single .XML file and placed into a .zip folder. You should see a message like this:

Click on the “Download” button. (Save the email with the download link in case you need to download at a later date). Select a location on your computer, such as the “Downloads” folder, to save the exported .XML zip folder. You will need to unzip, or extract, the .XML file from the zip folder. To do this, go to the location where you saved the folder and right click on the folder. You should see a menu that includes the option to “Extract All …”
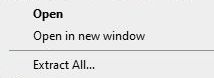
Click on “Extract All” and save to the default destination. This will create a new unzipped folder in the same location as the zipped folder.
Import the .XML file to your new one-name.blog site
Click on “My Sites/Switch Site” as above, and then select your one-name.blog site. Select “Tools” and “Import” (just as you opened “Export” on your old site). The Import window will now appear:
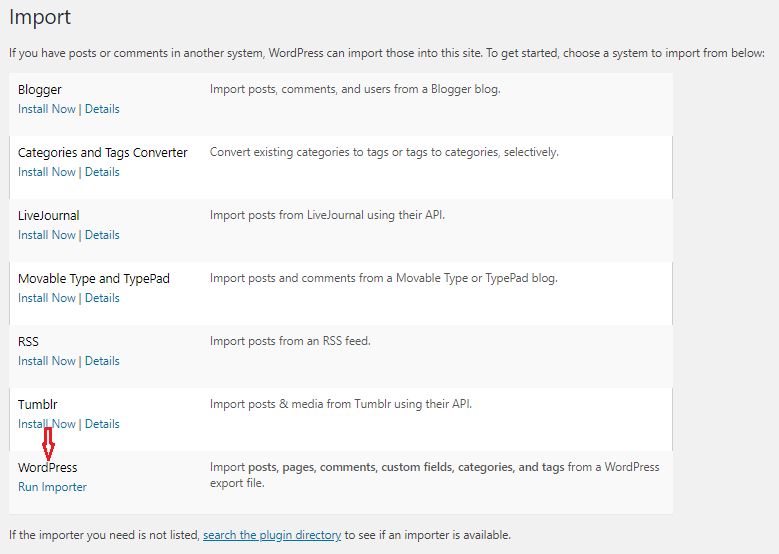
Select “Run Importer” for WordPress. If you see “Install Now” instead of “Run Importer,” that’s OK. Click “Install Now” and wait for the Importer plug-in to install. The link will automatically change to “Run Importer.”
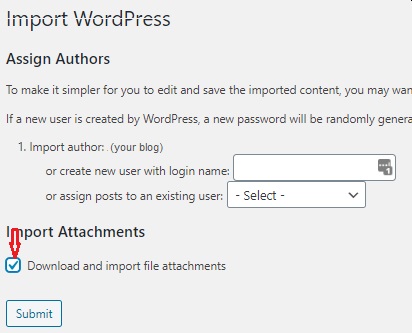
On the next page, click on “Choose File” and select the .xml file you exported to your computer. (This file is contained in the folder you extracted from the .zip folder, above.) After selecting the file, click on the “Upload file and import” button. Before the files import, you’ll be given the choice of keeping your old username, creating a new user profile, or assigning your posts to a different user. You should not need to change authors, but make sure you check the box for “Download and import file attachments” and then click on “Submit.”
WordPress will now migrate all the files you exported from your old site into your new one-name.blog site.
Check your new site for any errors
You should be able to see all of your pages, posts, etc. in your new one-name.blog site. However, it’s a good idea to go through each page and post to make sure that images and links transferred properly. You might also need to select a new theme for your blog.
Media
The export/import .xml file process should transfer all of your blog posts, pages, and media to the new site. Compare the Media Libraries in your old and new sites to see if any items are missing. If you find missing images, you will need to upload them to the Media Library of your new site.
If you use embedded media, such as image files or documents, from external sites, such as Flickr.com, we recommend that you upload the media files to the Media Library of your new one-name.blog site. You will then need to link these files to their corresponding posts and pages in the blog. Although this can be tedious, it will ensure that your media are preserved along with the rest of your blog. This step can be completed either before or after you move your blog to the new Guild site.
Should you decide to continue using an external media server, the links should transfer without errors to your new Guild site. If you find any broken links, go to the external media site, then copy and paste the HTML embed code(s) for the affected files into your posts.
Links
Check links to other sites, and especially internal links to your own posts, as these may still link to your old WordPress.com site. If so, you will need to re-link them to the appropriate location in your new one-name.blog site.
Theme
You may need to select a new WordPress theme for your blog. Many older themes are outdated and no longer supported. With the Jetpack plugin activated you gain access to more than 100 themes in addition to the limited number pre-installed on the one-name.blog site. Themes can be accessed through the “Design/Themes” or “Appearance/Themes” menus.
Configure plugins for your new site
As a WordPress.com user, you did not need to worry about plugins, because they were pre-installed. Plugins are applications that can be added to a WordPress site. They add new functionality or extend existing functionality on the site. You can access and add plugins through the “My site” or WP admin menus. Most plugins have additional settings that allow for customization. See GBP Standard Plugins.
Migrate followers and subscribers to your new site
Are there other WordPress.com users who follow your site or people who receive an email notification whenever a new post is published? If so, you will want them to continue receiving notifications from your new site.
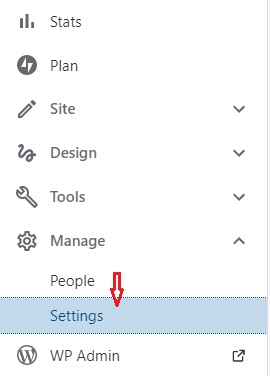
If needed, use “Switch Site” to enter your new one-name.blog site. Open “Settings” from the sidebar menu on the left.
Click on the “Discussions” tab and scroll all the way to the bottom. You’ll see “Migrate followers from another site.”
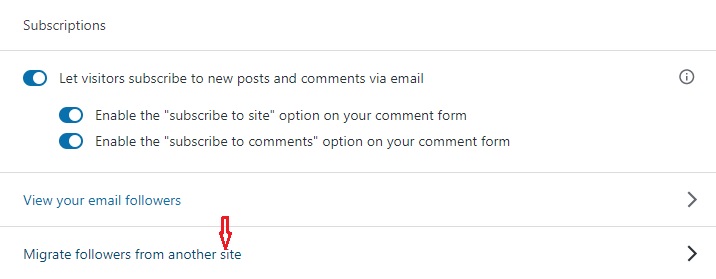
When you click on this a new window will open, with a drop-down menu to select your WordPress.com site. If you have multiple WordPress.com sites, you’ll need to choose the site from which you wish to migrate your followers. When you’re ready, click on “Migrate.” A notification will pop up asking if you are sure you want to migrate you followers. Click “OK.” A new notification will appear, informing you that your migration has been queued.

You’ll be notified by email when the migration is complete. That’s all there is to it! You can check by returning to the “Discussion” tab under Settings. Click on “View your email followers.”
Redirect visitors to your new one-name.blog site
Finally, you should redirect visitors from your old site to your new one-name.blog site. There are a few ways you can do this. WordPress.com will automatically redirect visitors for a USD $13.00 fee. Go to https://wordpress.com/domains/add/site-redirect, select your WordPress.com site, and enter the URL for your new site. Alternatively, you can create a page or post a notice in your old site, advising them that further updates can be found on the new Guild site. Make sure you provide a link to the new site. Finally, in WordPress.com, you can go to WP-Admin/Settings/Reading and select “I would like my site to be private, visible only to myself and users I choose.”
It’s a good idea to notify people who follow, or subscribe to, your blog that the blog has migrated.